List view lets you show Ninja Form entries in a custom layout. You can divide the lists in multiple rows and columns. List view can be a good choice if you are creating a directory like local business directory, events directory etc
Steps to Create List View of Ninja Forms Entries in Frontend.
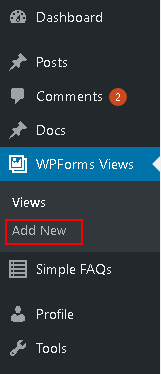
- Navigate to NFViews -> Add View.
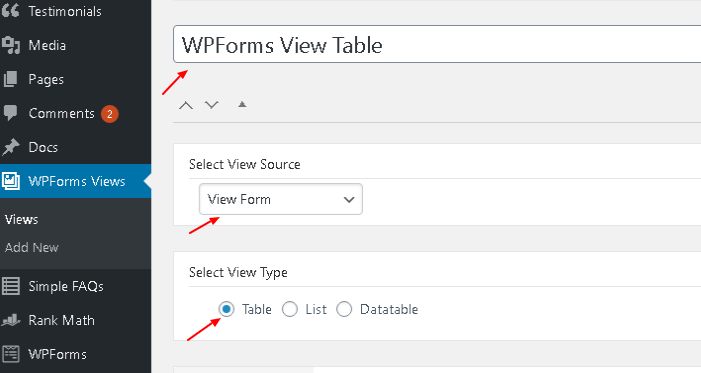
- Set a title for the View.
- Change the View Type from Table to List View.
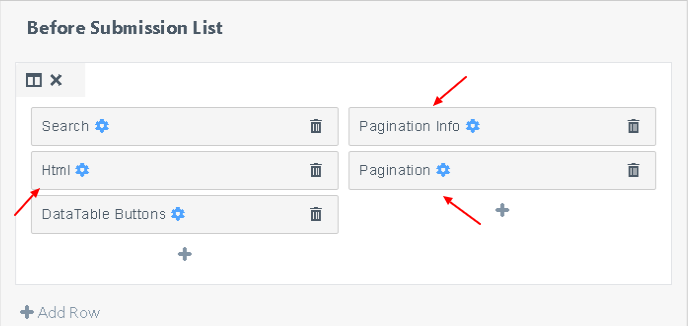
- Add the fields to the Before Submission List which you want to show before the List view of entries. You can add Pagination, Pagination Info and HTML fields here.
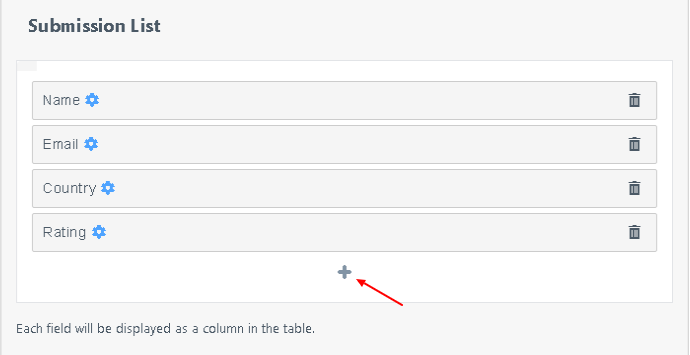
- In the Submission List field you can add multiple rows and divide the rows into multiple columns. Each column can have multiple fields. This gives you the flexibility to arrange the fields in a way you like.
- The available fields in the After Submission List section are the same as the Before Submission List.
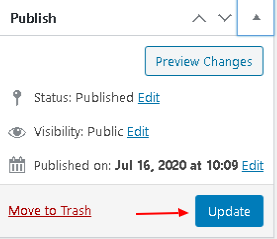
- Once you have created the layout and added the fields then click on the Publish button to save it.
Steps to Show List View of Ninja Forms Entries in Frontend.
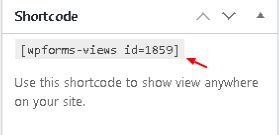
- Copy the shortcode for the list view and add it to any post/page or sidebar. Once published your View will show on the frontend.
